We have all been going mad for that gold look, gold has been everywhere, it’s been raining gold! OK, perhaps not, but it is proving to be the desirable look for the season, so I have the final Get The Look in my Gold series, well at least for the time being, and it is a little exploration into that stock favourite Gilding Flakes.
Let’s do this! It is Get The Look – Gilding Flakes!
What Are You On About, Kim? Gilding Flakes?
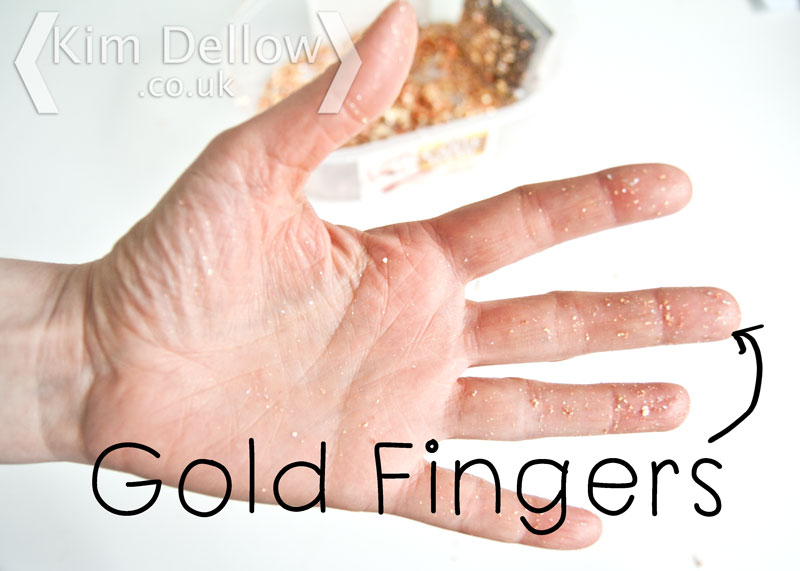
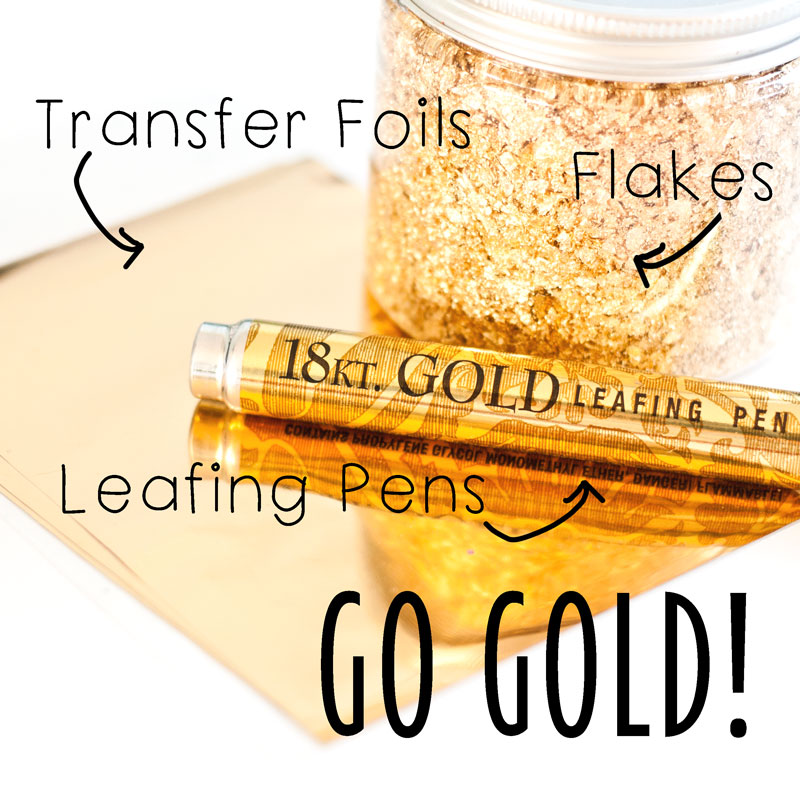
Like Transfer Foils and Leafing Pens, Gilding Flakes have been with us for yonks but gilding flakes kind of made a dramatic comeback a couple of years ago in the papercraft and stamping community and suddenly they were everywhere. Literally! Do you find that? They just get EVERYWHERE! Open that jar and those flakes travel, dude!
Yeah, just don’t get me started on their ability to stick to your WHOLE LIFE! Argh! OK, I will come clean, I have a sort of like/hate relationship with gilding flakes. I like the look of the finished product but I’m not that fond of working with them. It is a bit like working with flock: the stuff sticks to any tiny bit of static it can; dare to breathe and you will be trying to remove it from yourself and your work area for months. #exaggeratemuch?
But overcome the working-with-them niggles and you can get some lovely looks with gilding flakes and hey it’s shiny, so it can’t be all bad?! #easilydistractedbysparklythings
Gilding flakes are an ultra-thin metal alloy (I’m assuming you aren’t working with the real McCoy here, by the way) that imitates the precious metal colours like silver and gold. As well as silvers and golds, you can also find flakes in coppers and colour mixes and there are some really beautiful colours out there.
You can find gilding flakes in many of the art and craft shops that you probably already buy from and there are lots of different brands providing them now (you can find a few suggested products in the links below).
The gilding flake products I have personally used are from Cosmic Shimmer, IndigoBlu and Crafty Notions, (other brands are available) but they are all much the same and it is best to go for the best price per volume for your budget.
So How Do You Use Them?
Gilding flakes are another product that work with a tacky surface, just like the transfer foils. If you can make a surface tacky then you can apply gilding flakes. Many of the suppliers provide a specialist, slow-drying (very, very, very slow drying) glue to use with their gilding flakes such as the IndigoBlu FlitterGlu and the Cosmic Shimmer Flake and Glitter Glue. You can stamp with these glues, which is great, but be prepared to have to really clean your stamps afterwards.
Gilding flakes also work beautifully with dry adhesives like Stick It, double-sided adhesive sheets, adhesive foam, etc. So again you can die-cut shapes and cover them with gilding flakes just like the transfer foils.
Here is an ultra-quick guide on how to use them, but you can find loads more information on YouTube and your other favourite learning platforms.
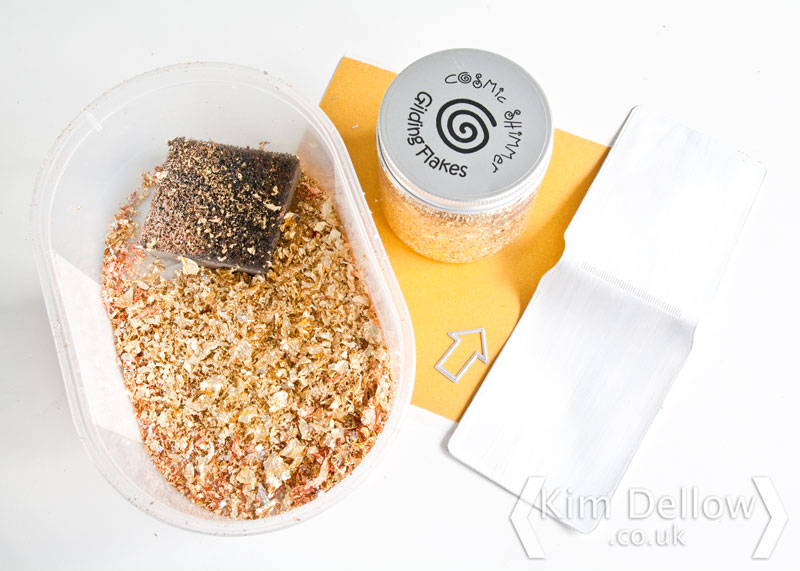
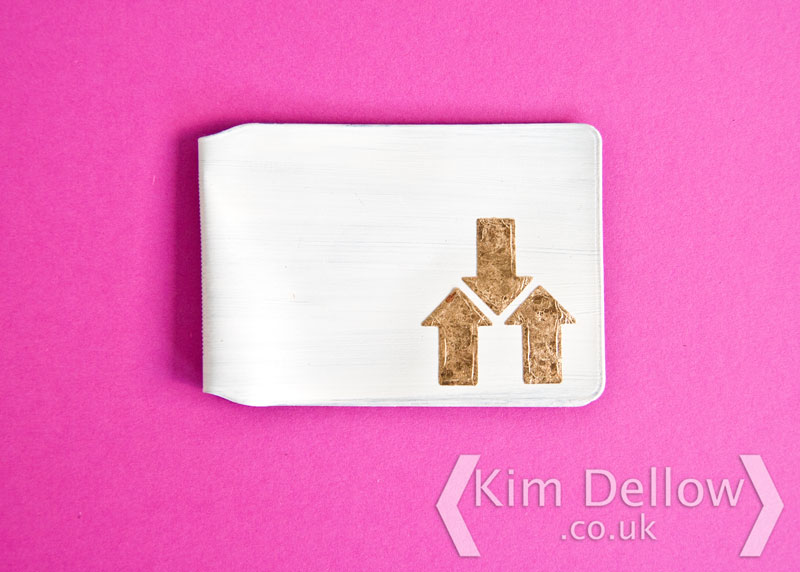
Before you open that jar, gather together the surface you want to add gilding flakes to, a tacky adhesive – I’m using die-cut double-sided adhesive tape to add arrows to a ticket wallet – a large-mouthed container with a lid, like an ice cream tub, and a textured sponge or a hard bristle brush. I use an old piece of Ranger Scrub It as my texture sponge but you can buy texture sponges too.
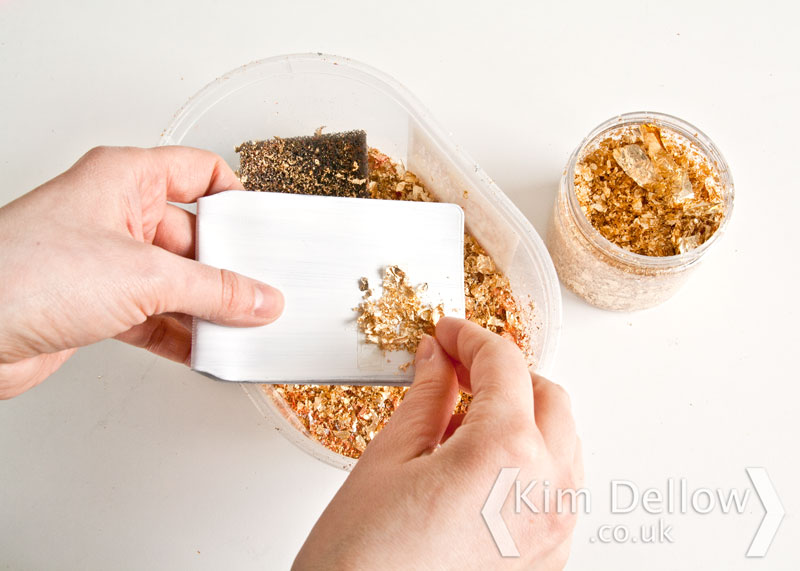
Carefully open your gilding flakes pot so as not to let the flakes fly everywhere (they will anyway but you can try to limit the escape). Hold the item you want to cover over the large-mouthed container and cover with flakes. Dab the flakes into the adhesive firmly and make sure you have covered the whole area.
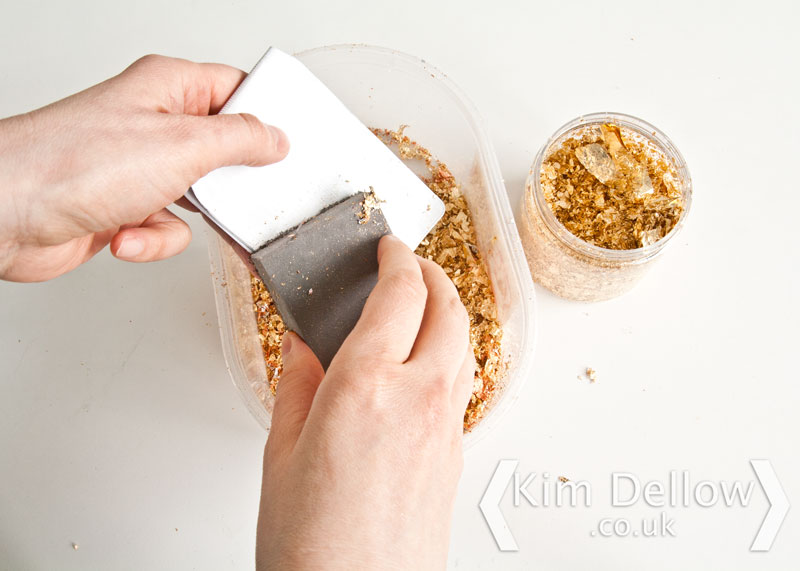
Finish up by using the texture sponge or brush to smooth away the straggly bits, still holding the item over the container to catch the residue flakes as best you can. You can then store the leftover gilding flake pieces in the ice cream tub for use on another project (you don’t want to even try getting them back in the original container).
Of course you can use them on a flat surface not held over the ice cream tub – just work with them carefully and brush the leftover pieces into your ice cream tub once you are done.
Remember not to sneeze, cough or breathe! OK, you can breathe, I don’t want you to pass out now, do I? Well, unless you want a gilded face as it smacks down onto your work surface. Hey you can SO pull off that look!
If you remember back to the Transfer Foils and Leafing Pen, you can see that you get a much more textured look with the Gilding Flakes.
Ready To Gild Everything That Isn’t Moving?
It’s a gilding flake frenzy! Get ready to gild everything and here are some ideas to get you started:
- Gilded lettering using dies and Stick It.
- Make over those dull alphabet stickers into glitzy gold.
- Revamp that box, you know it needs it.
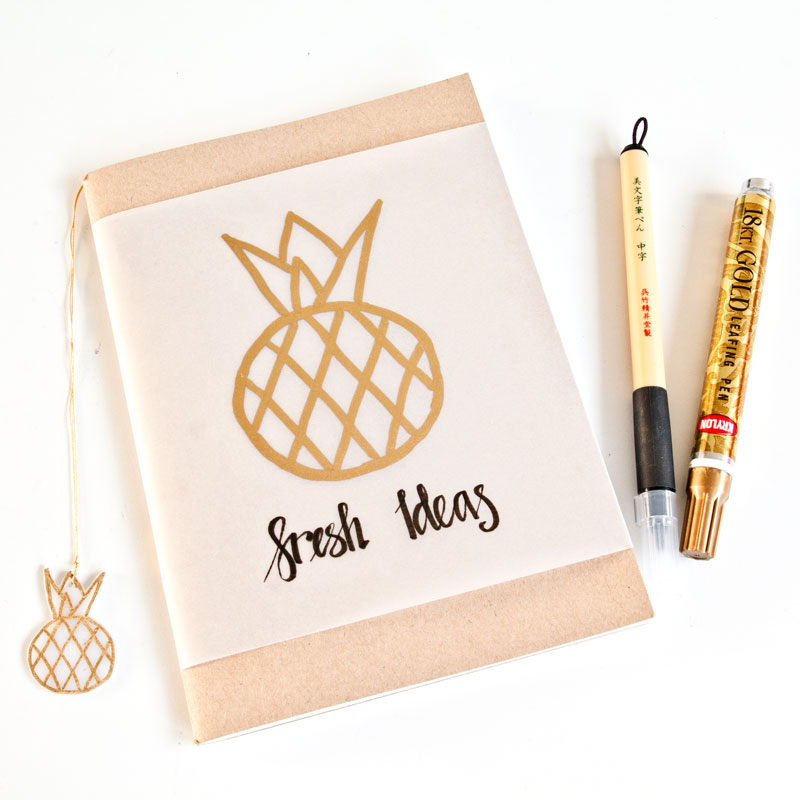
- How about a gold pineapple on your mobile phone case (SO hot right now).
- New gold pencil tin, anyone?
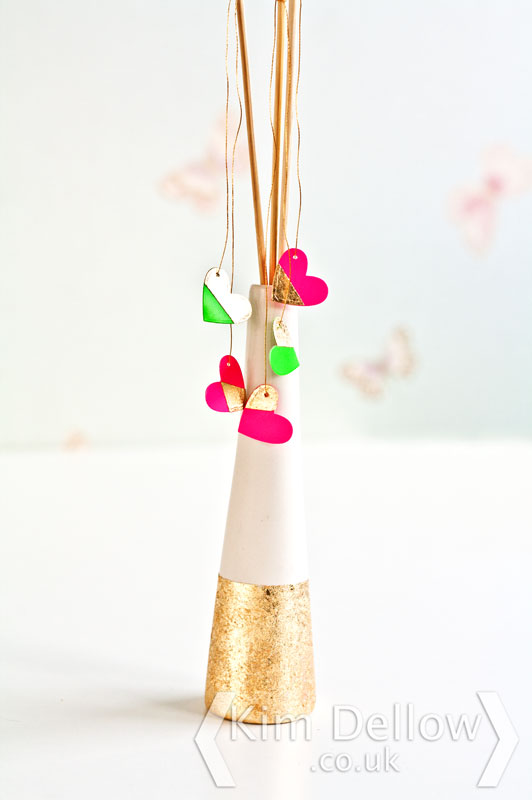
- Oh was that a ceramic vase you gave a gold twist to?
Yep and I used a tacky PVA glue, like Hi-Tack, but let it dry a little before using the brush to remove excess flakes.
I know you guys can come up with a tonne of gold creative ideas, so go on then! One final tip before I go: if you need your gilding flakes to be hard-wearing, then you might want to use a sealant product over the top so that you don’t have to worry about the flakes coming off. Shellac is traditionally used to seal gilding when needed but you can also try your acrylic-based products.
Gold Is The Way!
Hope you have enjoyed my small taster into the world of Get The Look – Gold. You can find my other blog posts full of Gold techniques and ideas here:
and feel free to share these posts with your friends if you have found them useful.
There are lots of other ways to get the look that I’ve not even touched on, so have fun experimenting and I would love to hear any gold stories or check out any gold projects you have so please do drop a message in the comments below.
Come back in two weeks’ time (18th March 2015) when I will be sharing Get The Look – Watercolour. See you then!




Fabulous light hearted and fun post Kim, love your writing! I do like gilding flakes but am not a gold lover, more at home with Platinum or Titanium or matte silver if it's for personal use.
Your ideas are fantastic so i might go and have a play lol 🙂 xxx
LOL! Glad I could entertain and provide some inspiration. Let me know what you make, you know me I love to be nosey! Have fun and thanks. x
I am a Gilding Geek!!! LOVE all things gold and silver and being able to put it where I want it is a dream come true!!!
Before I empty my container of gilding flakes into it's permanent container I place a dryer sheet on the bottom, making sure it is fully unfolded, and then dump my flakes in. I then fold the rest of the dryer sheet over them. That way, when I open the container the flakes stay where they belong. Give it a try, it is a real flake saver! If I am adding more than 1 container of flakes to it I place 1 sheet on the bottom and another on the top. I also run my embossing bag over the inside of the container and cover prior to putting in the dryer sheet. It may be overkill but it works.
Hope this helps you to wrangle your flakes!
Another tip is to sprinkle a bit of baby powder on our hands before you start using the flakes. That way they don't stick to your hands. Toodles and ta ta for now and Happy Gilding!
Ahh Barbara that is a great tip, thanks. I've used dryer sheets to help clean up after using the flakes but I've yet to use them to help control them in storage. I will give it a go. TTFN Gilding Geek 🙂 That would make a great name btw! LOL! Kx
Hi Kim love your tutorial I have bought some flakes to try but keep looking at the container- lol, I like Barbara's tip re the dryer sheet x x x
I am venturing into my first gilding project and am so excited! I am wanting to guild the very top of a small table, it's about 50cm x 50cm. I have ordered multicoloured autumnal flakes. So, I could use strictly thin layer of pva glue and then dust and brush the flakes onto the surface and work them in…..would I need a lacquer to "finish" the table top? x
I am curious as to how your project turned out. I'm hoping to gild a frame I made and I have similar concerns. Reply to my post if you can.
Hi Sarah, sorry I missed your comment. How did it go? I would have thought that you would need a vanish to protect it. Did you use one in the end?
Hi, I used Dimensional Magic (acrylic based) to seal my gilded pendant and it turned green 🙁 Think it reacted to the copper flakes in the gilding – just thought this might be useful to anyone trying to seal their gilding!
Thanks for letting us know!