I’m sure that you have noticed that gold is super on trend this season for papercraft projects and with the release of Heidi Swapps’ foiling machine, Minc Foil Applicator, at the CHA in January you can’t help but have noticed that foiling techniques and gold foiled products are starting to pop up everywhere.
[*Just so you know there are affiliate links in this blog post, if you click them and then go on to buy something I get a small commission at no extra cost to you and it helps me to run the blog. Thanks for your support.]
Go Gold! It’s your birthday!
Time to get the look and I’m going to get the look with transfer foils today.
Eh? Transfer Foils?
Transfer foils have been around for years but they are definitely getting a makeover so it might be time to dig them out of your stash and have a play.
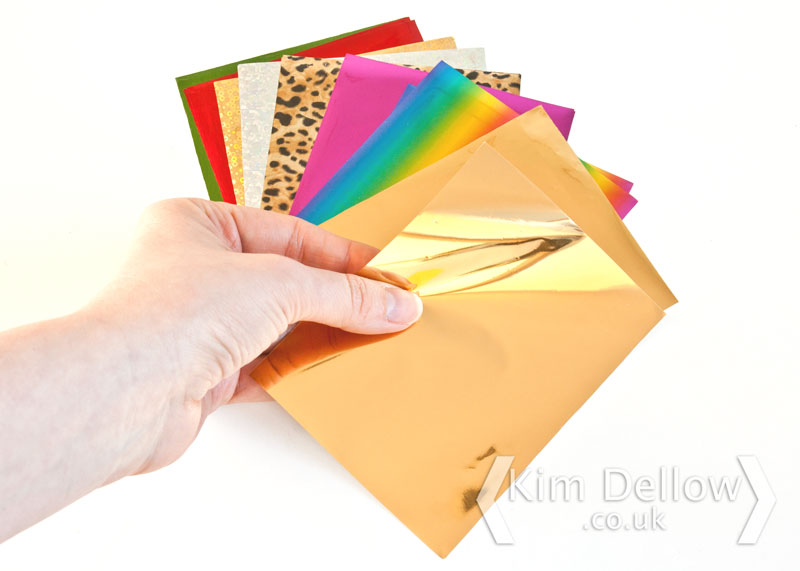
Transfer foils are an ultra-thin layer of metallic coloured foil adhered to a thin plastic sheet, you place the dull side on to something sticky and burnish it down with your finger or a bone folder, then when you peel the sheet away the metallic foil is left behind.
They come in a whole range of different colours and designs. You can find them in sheets or rolls.
What Can You Use Transfer Foils With?
Transfer foils can be used with glues and dry adhesives. But you also can transfer them using heat. Machines like the Heidi Swapp Minc Foil Applicator use heat to transfer and stick the foil onto a laser ink printed image.
Whatever glue or adhesive you use tackiness is key so if your glue needs time to get tacky, then wait for it to get tacky before pressing on the transfer foil.
A perfect place to start are double-sided tapes, double-sided foams and products like the Stick It adhesive sheets or the Xyron Sticker Maker refills. I’m using Stick It as I don’t have the Xyron Sticker Maker but I’m guessing the adhesive would work just fine with transfer foils.
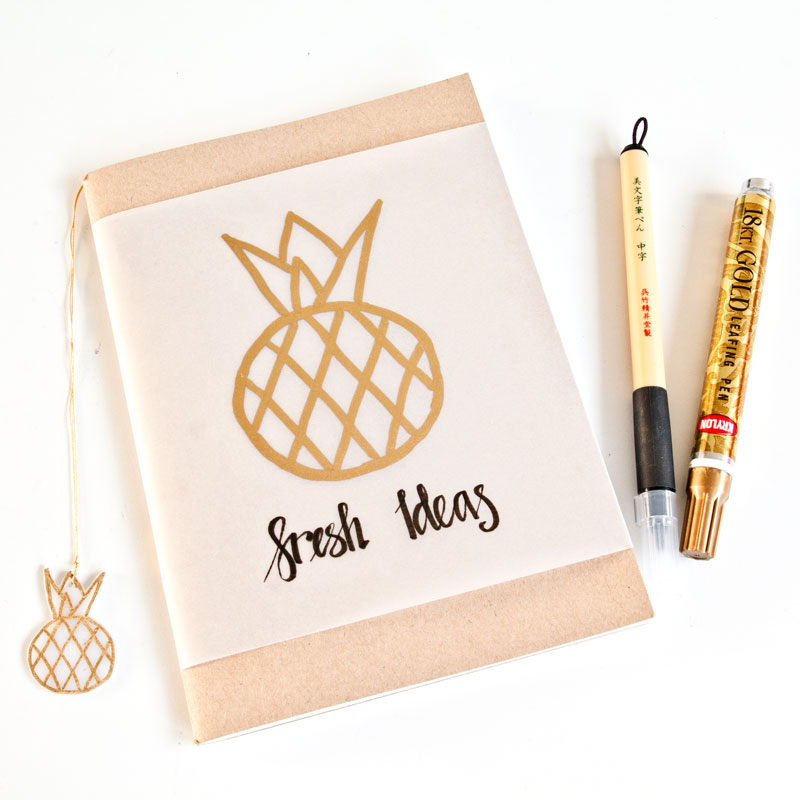
I love using transfer foils with glue pens as well, you have the freedom to draw or write whatever you like and foil it. You can use transfer foils on stamped images too if you use the various glues you can use on stamps, like Flitterglu and Flake and Glitter. But don’t forget products like Stamp N Bond which you apply like you would an embossing powder but once heated the powder becomes tacky.
Oh and get this…you can use Vilene Bondaweb (one of my all time favourite products). The stitchers amongst you are sure to have come across Bondaweb. It is a thin web of glue that melts when heated and is most commonly used to attach fabric to fabric for appliqué techniques and the like.
The bottom line for what to use to attach your transfer foils is that if it is tacky it will stick.
Let’s Try It Out!
I die cut some shapes from a sheet of thin 3D foam, a sheet of double-sided tape and some Stick It and stuck them to card with a sentiment I wrote using the ZIG Glue pen. I burnished the Stick It and double-sided tape down before taking off the top protective layer and burnished the transfer foil over the top.
And held up to catch the light…
ZOiNks! – no idea what happened with the 3D foam, it has worked perfectly in the past *sigh*. Luckily I have one that I did earlier:
What Next?
Ok so we have tried transfer foils out and it was fun but what can we actually do with them?
- Well how about foiling your die-cuts?
- Apply the glue thinly through masks and foil it for lovely metallic backgrounds.
- Use Stick It through a mask and foil it.
- Got to LOVE the foiled lettering, what about going big and making some home décor word art?
- Foiled stamped images anyone?
- Now empty out your embellishments draw(s) and foil everything! Alphas, tags, stickers gems and pearls.
- Foil your glue dots.
- Get your letterpress plates out and foil away.
In theory if you can apply a tacky adhesive to something then you can foil it!
So far I have tried gems, beads, chipboard alphabet stickers and dry adhesives die-cut like above or through a mask, wet adhesives written with or through masks all with great success so…
Go bling Baby and foil it!
How will you use your transfer foils? Have you been tempted by the Heidi Swapp Minc Foil Applicator? I would love to know. Drop me a comment with your transfer foil stories below.
If you are looking for more ways to get the gold look then check out these posts:


I own a Craft Dragon (called Sparky lol) and can use the foils with him. I only have a couple of the die designs so far. I love using foils but am finding the burnishing challenging because of my hands, hence the Craft Dragon.
My favourite ever project from a long time ago was covering chipboard and Grungeboard letters with the foils then when dry sanding the letters slightly and applying more wet glue and micro beads over the top.
Have also used Melt Pot to cover with clear embossing powder and then stamped into the powder using a pearlescent ink pad like Brilliance so the stamp wouldn't get stuck in the EP. This technique is a tad time consuming and very messy but lots of fun.
Love your Gold post, i like bronze and copper colours more. Enjoy playing! 🙂 xxx
You know I usually reach for bronzes and coppers more too! I usually leave the gold look alone, but I am liking this foil revival gold look for a bit of glitz. I'm wondering if it is that hint of sunshine coming out of Winter that the sparkle of gold is giving at the moment 🙂
The Craft Dragon looks like an interesting bit of kit. Bet it is handy for mass producing items! I know that folks use laminators to foil laser printed items (I'm guessing that is what the Minc machine is). I've got a laminator but not a laser printer otherwise I would have given that a go.
Thanks for the project tips. x
Im just waiting for some toner powder and i will be using my cheap and cheerful laminator. I have some heat and stick powder so might give that ago as well.
Ooo definitely let us know how it goes. Mmm wander if it might be time to invest in a laser printer? There have been a few things I've wanted to do that only work with laser printer prints. Maybe it is time to get one?
Kim the toner powder is not to use with a printer it make stamped images work. There is a video showing how here 🙂
http://littlemisst-papercraft.blogspot.com/2015/02/heidi-swapp-minc-machine-foiling.html
Wowsers! Thanks for the link Kate. Can not wait to see your results! Have you tried the heat and stick powder through your laminator yet? I wish I could find my Stamp N Bond I would so try it out in my laminator if I knew where it was! Let me know how you get on. x
Actually I wonder if the laminator is hot enough to melt ordinary embossing powder? Mmm…how hot do laminators get? Ok, gonna need to try this over the weekend! Surely if that worked someone would have done it already?