Welcome back to my DIY with the Cricut Explore series for this month where I share some tutorials for projects you can do with your Cricut Explore. If you haven’t seen it already, check out my first instalment with the DIY Journaling Cards.
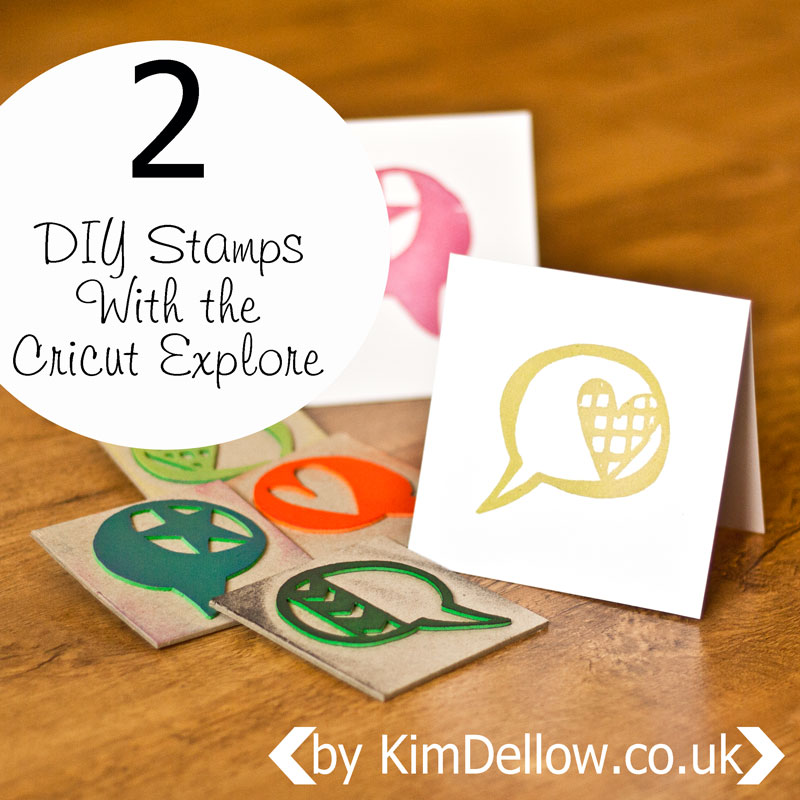
Today I thought I would share some tips for DIY stamps.
[There are some affiliate links in this blog post, so if you buy through them I do get a small amount of money at no extra cost to yourself. Thanks for your support!]
You Will Need:
Cricut Design Space
Cricut Deep Housing and Blade (optional)
Poster board / Art board
Pen / pencil
Scanner / photo-editing software
Glue
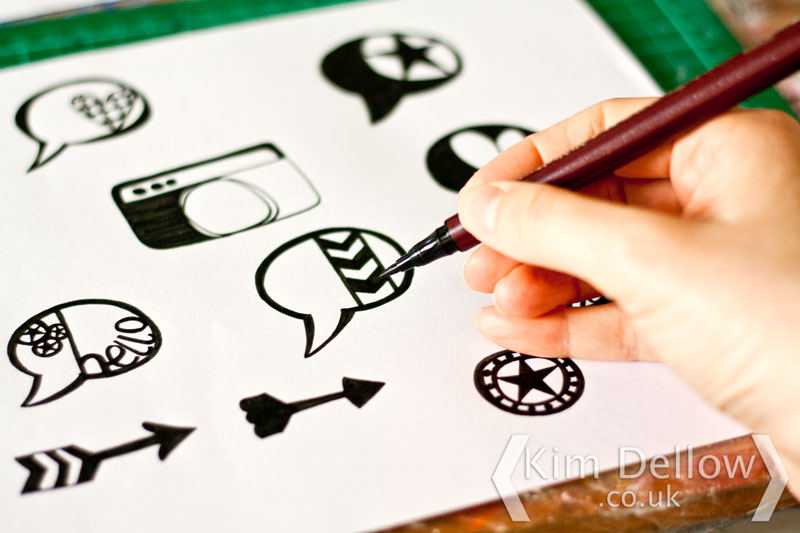
1. Start with a doodle! Doodle out some designs, use a black pen or start with a pencil then go over the lines with a pen. Then scan the picture and save it on your computer.
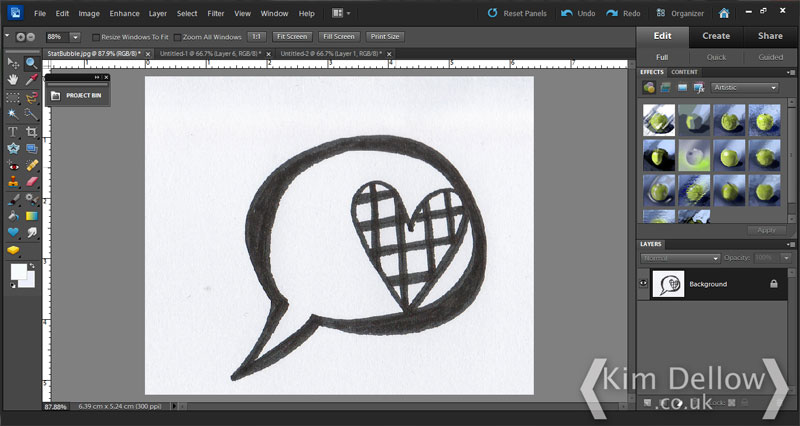
2. Use your photo editing software to crop the scan if you need to. It is better to work on one sketch at a time if you want them to be individual cutting files. I’ve used Adobe Photoshop Elements but there is plenty of free photo-editing software out there to use.
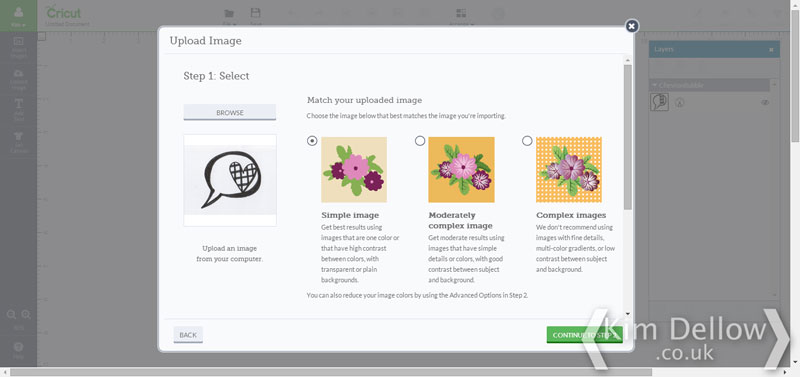
Once you have your image, save it and log in to the Cricut Design Space, pick ‘Create New Project’ and go to the ‘Upload Image’ option in the left-hand menu of the workspace. A window opens with two choices: pick the ‘Basic Upload’ option on the left then on the next page click the ‘Continue to Step 1’ button to get to your image upload page.
3. Use the ‘Browse’ button to find your saved file on your computer; once you have selected it, you will see it as a thumbnail on the left. I used a simple black and white image so picked the ‘Simple Image’ option, but make a judgement based on the type of picture you are using as to what level you are going to need. Then click the ‘Continue to Step 2’ for the next part.
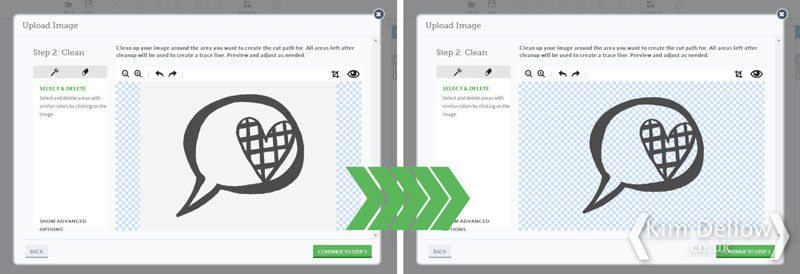
4. Your image will open in the clean up window and you can now get rid of the areas you don’t want in the image and remove any extra lines if you need to. Choose ‘Select and Delete’ if it isn’t already selected and move your cursor over the unwanted areas, which are the white areas in my image, and click on them to remove them.
Don’t forget all those little unwanted areas in the pattern. Use the zoom in and out if you have a problem seeing the little areas. You can also crop if you need to and use the erase option to remove sections. Once you are happy, use the preview to check that you haven’t missed anything.
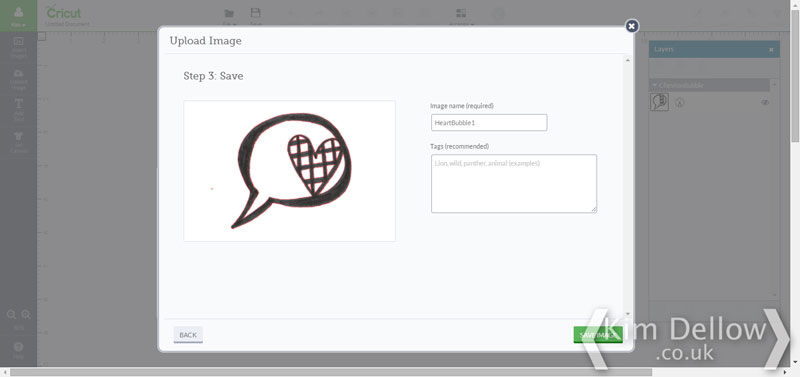
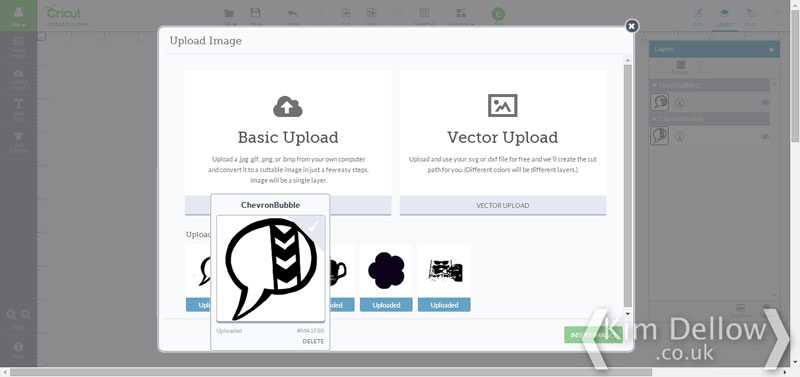
5. Then click ‘Continue to Step 3’ and you can now name and use keywords to tag your new image. Once you have saved your image, you can find it listed in the ‘Upload Image’ section, but you will also be able to search for it by name, keywords or the design number it has been given in the ‘Insert Images’ option too when you are logged into your account – pretty cool!
To insert your new image just click on it as you do with the other images.
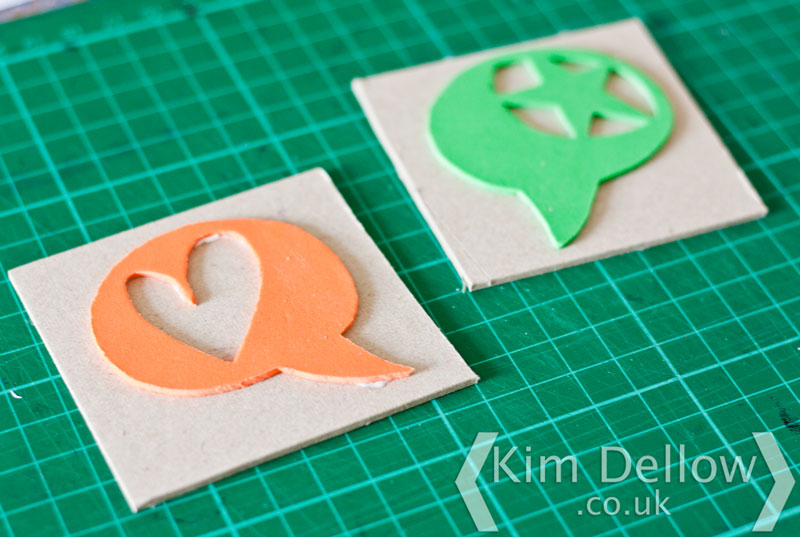
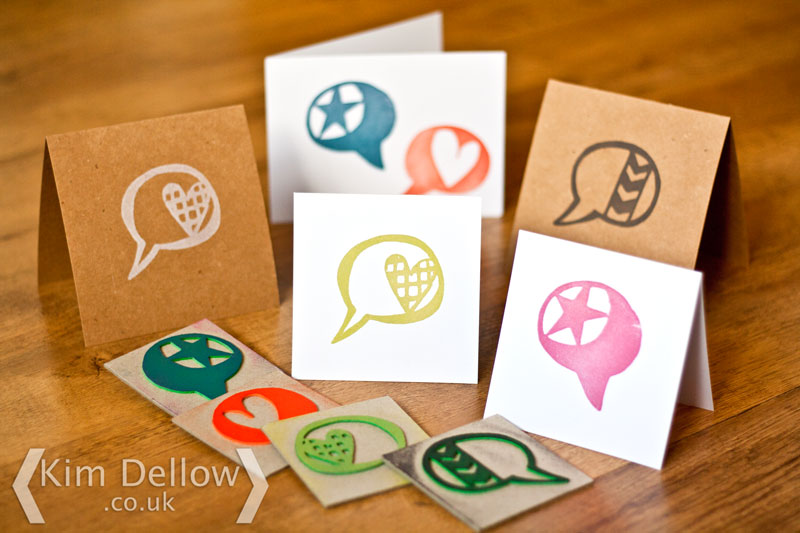
OK, so you have your fabulous new images, so what about these stamps I mentioned at the start? To make my stamps I used craft foam (aka funky foam, or fun foam). Yes, the Cricut Explore can cut craft foam but I have a couple of tips to help you cut it.
6. I fiddled about a lot to get as smooth a cut as I could. If you have ever cut craft foam with an electronic cutting machine, then you will know that you normally have to tear the die-cut away from the excess foam as it doesn’t cut all the way through and it can leave a jagged-looking edge. I don’t have the Cricut Deep Cut Housing and Blade and I imagine that it might be easier to cut the foam with this. Do let me know if you have cut foam with the Deep Cut blade.
So my settings are for cutting craft foam using the standard blade and housing.
Tip – Try using a thinner foam, around 1mm thick, and if your foam is thicker then pass your funky foam through a manual die-cutting machine to compress it a bit. I did this and it worked a treat!
Send your image to the machine to cut by clicking the ‘Go’ button, work through the Mat Preview to the Cut Preview, load the mat with the foam attached and choose the ‘Custom’ option on the dial on the machine.
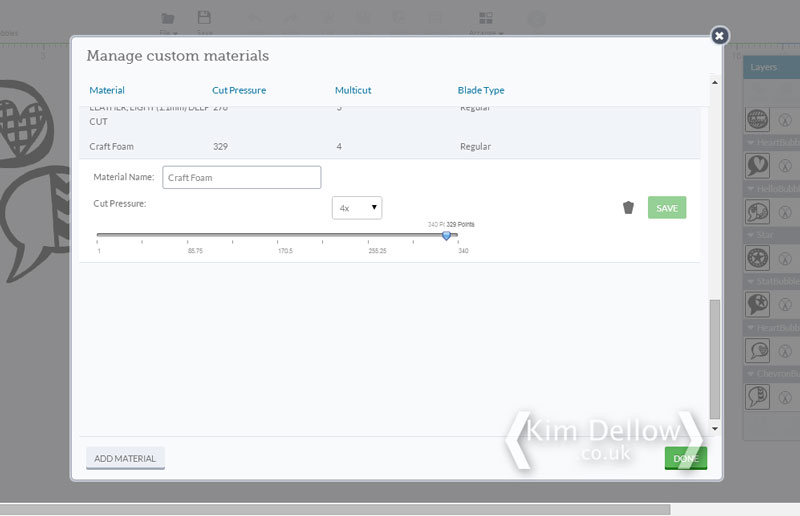
7. Click the ‘Materials Settings’ button and then ‘Add Material’ to set the pressure to around 330 using the slide bar and the Multicut to x4 from the drop-down window. Name the new material setting and save it then click ‘Done’ and cut as normal. Once the cutting is over, take the foam off the cutting mat and carefully peel the die-cut away from the excess foam as needed.
Tip – if the markings left by the rollers in the foam annoy you, turn the foam over and use the back of the die-cut.
8. Stick your new stamps to a piece of poster board or art board then ink them up and stamp, stamp, stamp!
If you could make any stamp you want, what would it be? Do let me know in the comments below.
Thanks for popping by.
Kim
UPDATE 4/10/18: If you are looking for materials for making your own stamps in a cutting machine then try the Silhouette Stamp making Material:
…Buy from Amazon: UK | US | CAN
Like this? You might also like:
Come And Connect With Me:

Great tutorial Kim:-) x
Thank you 🙂 Glad you like it 🙂
Ooh very interesting, thanks Kim!
Lucy x
You are welcome Lucy 🙂 Thanks 🙂
Love these.
Thanks for the great tutorial. Do you know of any rubber stamp blocks that are thin enough to be used with the Cricut? most are 1/4 inch thick, which is too thick!
Hiya, I am glad you like it! I really don’t know. There is the EssDee Soft carve, that’s thin but I have no idea if it would work in a cutting machine. I kind of guess not. But Silhouette did bring out a stamp carving material a few years back for making your own stamps in a cutting machine and I have updated this blog post with the links to that material if you want to check it out (the links are at the bottom of the post!).
Hi Kim: I have a question and I know it will sound silly. I would like to buy a Cricut Maker, but I have bought some dies and stamps. Would you please give me your opinion on using both. The Cricut Maker seems to be able to do what the dies or stamps can do. I am on disability, so there is limited income to work with. And I would like to do the best solution money wise.
Thanks,
Diane Winters
Hiya Diane,
It is not a silly question at all! But I’m not sure I can answer it for you as it is so personal to each crafter and how they like to craft. So out of the people that have a Cricut machine I am guessing you will have a range of crafters, some who use nothing but their Cricut products, others who might use both the Cricut and the stand alone stamps and dies, and then some who don’t use their Cricut at all. Now I am not totally up to scratch on what the Maker offers but with the Explore machine you can use free or bought SVG files and even ones you make yourself. The bought ones can be bought via Cricut either one by one (I think) or by taking out a subscription to their cutting/drawing designs. So if you want to use their designs, or designs from other suppliers, you need to factor that cost in as well. So I suppose even when you buy the machine you have costs of the designs on top. Much like buying a mangle-style die-cutting machine and then buying the dies to use in it. It isn’t a one time cost and then you are done, it is an ongoing cost of designs to use in the machine unless you just want to use the free designs or are able to make your own designs.
Maybe it would help you if you work out how often you would be likely to buy stand alone stamps and dies and how much they would roughly be. Then see if you can find cutting and drawing files that you like that can be used in the Cricut and how much they cost. Then add up the equipment and consumable costs of the Stamp/dies route over say a year and compare it to the equipment and consumable costs of the Cricut for a year. Maybe that will help your decision? Plus also factor in that you can sell your stamps and dies on if you want to but you can’t sell the cutting/drawing files on.
You might also want to take into account if you are the type of person who likes gadgets or the type of person who doesn’t. The Cricut is really simple to use but it does need a little bit of patience and a willingness to fiddle around sometimes! Well that’s how I find it anyway!
I really hope that helps. Sorry that I could not help some more.
All the best
Kim
Really good post, I have just got a Maker and there are so many things to do and try. It is hard to know where to start and stop.
This looks like something easy to try and no big investment is needed.
Thank you, and I am so glad it wasnt just a video I love to read at my own pace and get frustrated pausing a video and rewinding it .
I am really glad it helped Lesa and thank you. Have fun with your machine!
I’d like to make my own return address stamp but I’m not sure if that’s too intricyfor the cricut to do
Hi Tina, yes, I guess it would be too intricate too.