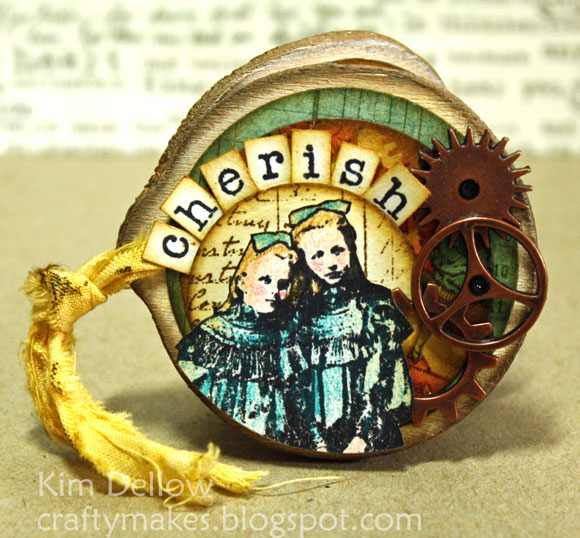
Well it has been a busy month of tutorials here at Crafty Makes and I have another one for you this week. This time I’m using the wooden alterable shapes from Quixotic Paperie along with other yummy items to make a mini-concertina book. If you follow the Quixotic Paperie blog you would have seen this on Saturday 18th June 2011.
You might have noticed it is the round ornament bauble shaped wooden shape? You don’t have to use them just for Christmas!
What you will need:
Stamps – Artistic Outpost Ephemeral Backgrounds; Artistic Outpost Birds Of A Feather; Studio G Alphas
Papers – Kraft Card; Graphic 45 Steampunk Debutante
Colouring – Pencils
Inks – Distresss inks; Distress stains; Archival Jet Black; Archival coffee
Usual Suspects – Golden Gel medium; Gesso
Tools – Scissors; Crop-A-Dile; Cuttlebug; Spellbinders Nestibilities Circle dies; Blending tools and foam; Ruler; Scoring tool
Others – Wooden Shape Round ornament with hole; Fabric; Tim Holtz Idea-Ology Sprockets; Viva Decor Gel Pen Walnut; EZ Mount
Make A Template For The Inner Pages
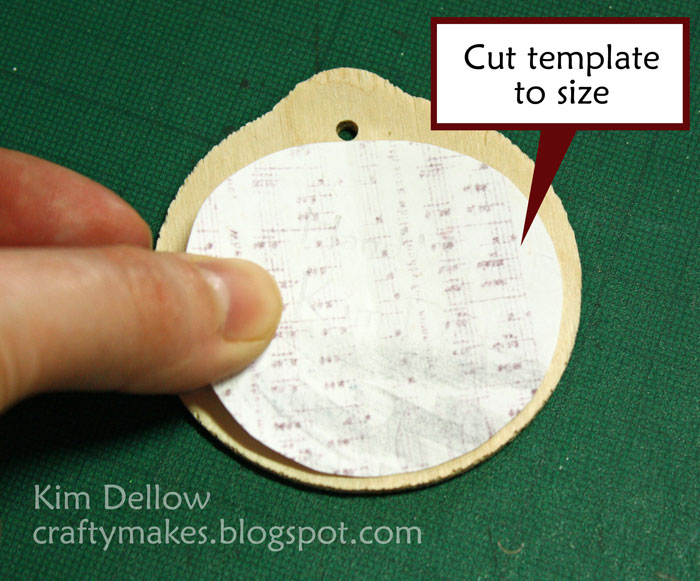
If you need to make the hole in the wooden shape bigger then before making the inner pages template use the Crop-A-Dile to make the hole bigger. Then use the wooden shape to cut a rough template to give the size of the inside pages. I’ve made sure that the hole in the ornament is not covered.
Score And Fold Kraft Card
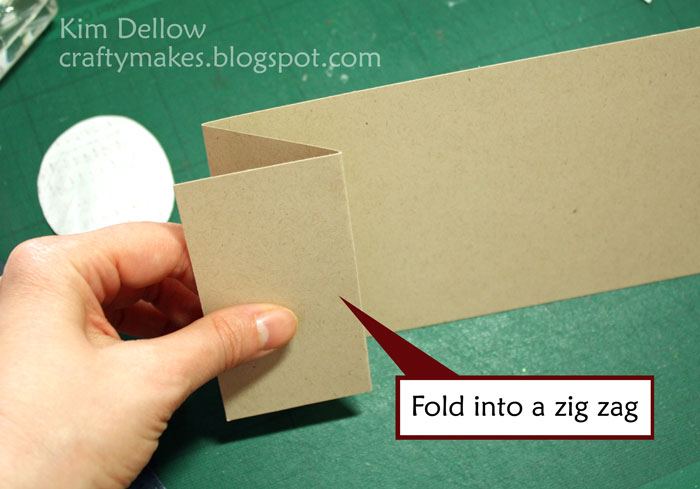
To make the inside concertina pages use the template to score a line in the Kraft card and
fold it.
Use the fold to score the next line and keep scoring and folding until you have the number of pages you want or until you run out of card! Make sure that your first and last pages are both folded in the same direction i.e. the first and last page are both valley folds when attached to the covers (see picture below – ‘Assemble Mini Book’).
Cut Inside Pages
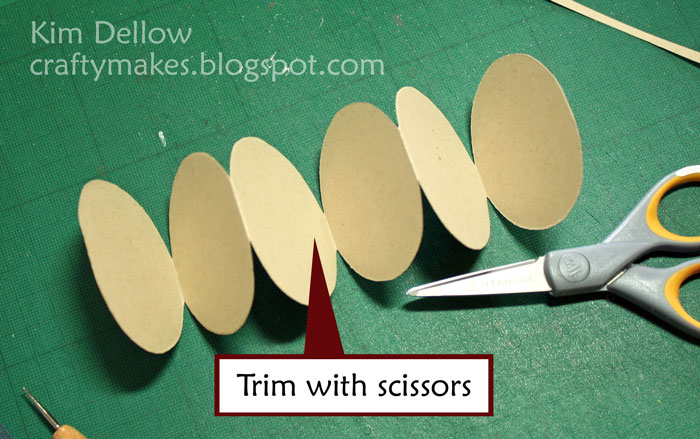
For this step you can either use your template to cut out the inside pages, making sure you leave the left and right folded sides of the circle uncut to give the concertina effect.
Another method is to use the Spellbinders nestibilities dies. Pick the die nearest to the size you want and line up the folded Kraft card on the die, again leaving the left and right folded sides untouched by the die. Use the thinner cutting plate and some shims with your cutting machine and run the card and die through the machine a couple of times. It wont cut all the way through and you might need to experiment with the shims to get the right thinkness.
Finish cutting the pages with the scissors, the die will have left guidelines in the card it has not cut through.
The inside pages are ready to decorate anyway you want. For this tutorial I’ve used distress stains to colour them.
Prepare the wooden shapes with a layer of gesso and once it is dry colour as you wish, I’ve used distress ink and stains in this tutorial.
Assemble Mini Book
I used soft Golden Gel Medium to apply the first and last page to the covers making sure that the holes are next to each other at the ‘spine’ of the book.
‘Bind’ The Book
I’ve used a strip of fabric coloured with distress stains to tie the covers together, making sure that it is not so tight that you can’t open the book. You can of course make the knot easy to tie and untie so that you can see both sides of the concertina pages if you have decorated both sides.
The book is finished and ready to decorate however you want!
I’ve linked this up to the Artistic Outpost June referral program and whilst you are there also check out their fabulous stamps.
Have fun with this tutorial and don’t forget to come back to let me know how it goes!
Kim





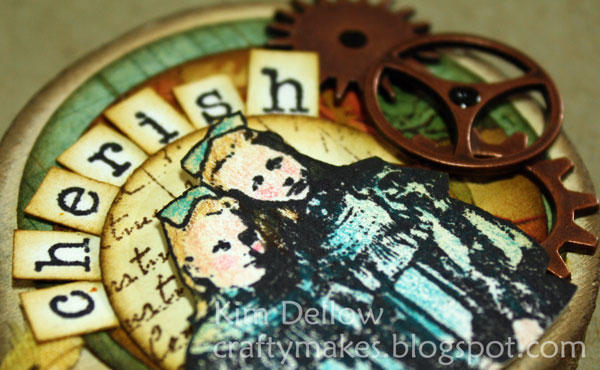

Sweet little book!
Brilliant tuto! Thanks Kim!
Oh what a super fun concept love it Kim! I love those cogs you used!
love tasha xx
oooh, wow!!!! this is just STUNNING!!!!! Hugs Juls
I love this:)
TY for sharing:)
Thanks for taking the time to share this tutorial. Looks like a fun project. Thanks also for taking time to visit my blog and for leaving me a comment. Well appreciated.
Happy crafting
Julie
Great work Kim!!!! 🙂
Ohhh wowwww Kim,so wonderful.
Hugs Riet.xx
Oh Kim, this is gorgeous. I love it. S xxx
wow so great, lovely details
hugs Pia
This is beautiful – thank you so much for sharing the 'how to'.
Toni xx
Fabulous and love the tutorial! Thanks so much. Have a great day! Hugs, Kim B
So beautiful…stunning! xx Jenny xx
Great tutorial and a beautiful book
Wow! What a wonderfully luscious and interesting creation!
Thanks for the how-to, which I'm sure I'll use soon!